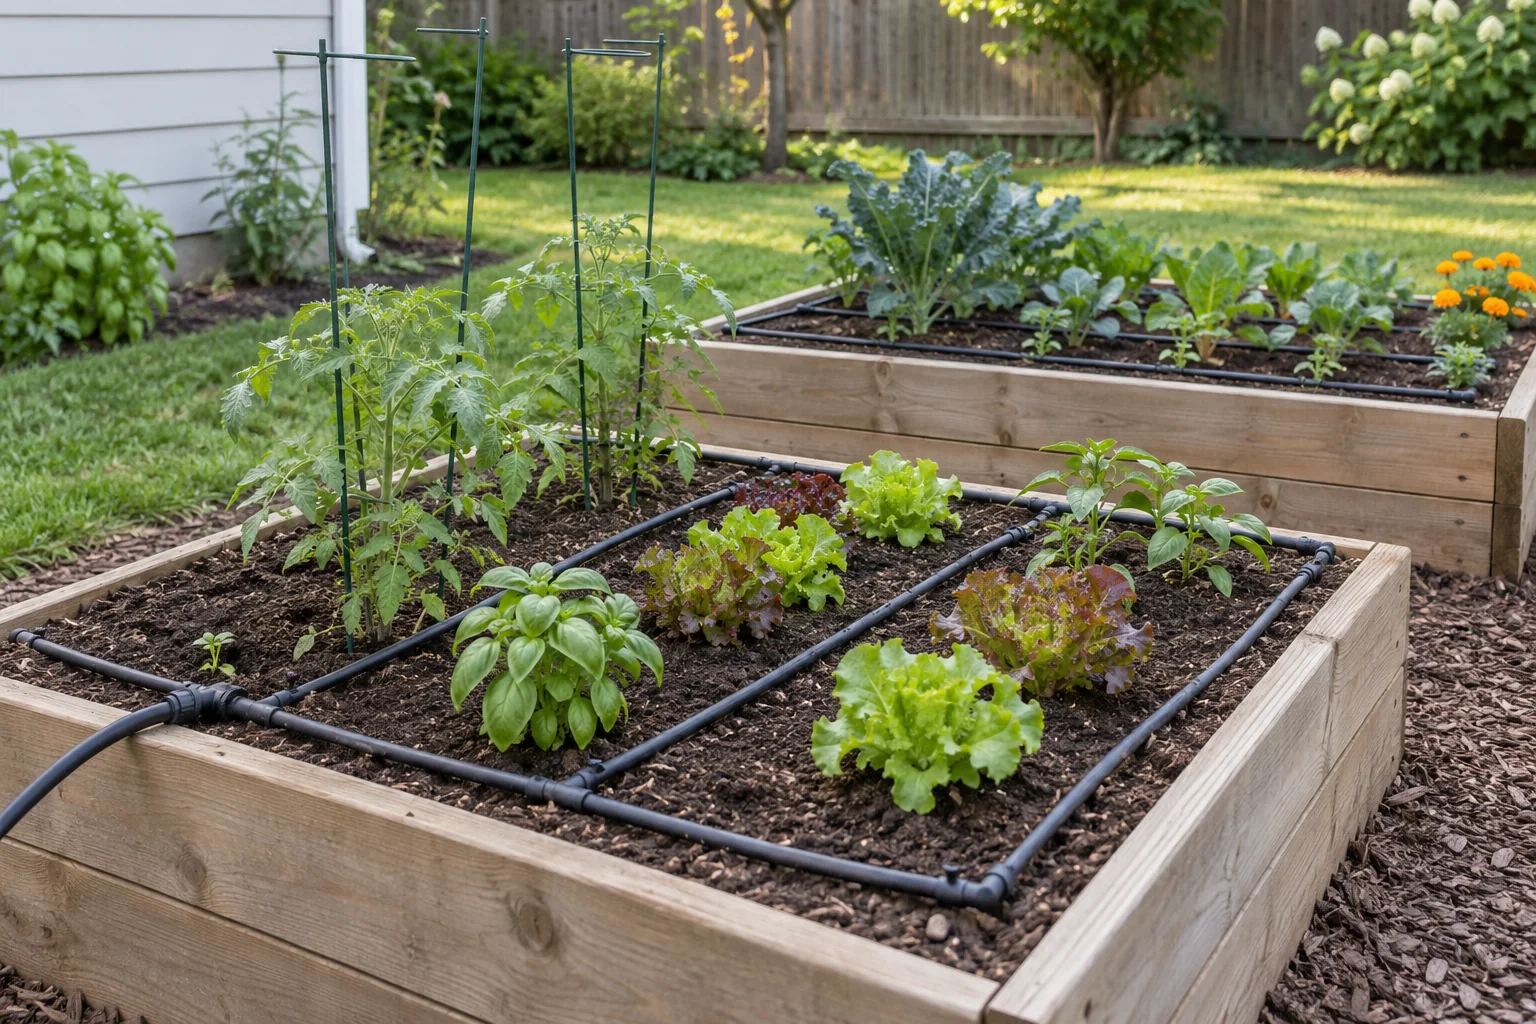
Use a simple row sketch before choosing dripline and fittings.
Measure the project
Measure each run and count rows; check emitter spacing against plant layout.
Estimate the main materialMaterial checklist
- Dripline
- Header or supply tubing
- Filter
- Pressure regulator
- Fittings
Check quantities, specifications, and delivery with your supplier. This list is a planning prompt, not a construction design.
Quantities to price
- Dripline: row length × number of rows, plus a measured connection allowance.
- Emitters: dripline length in inches ÷ selected emitter spacing.
- Fittings: count every branch, corner, end, and connection on the sketch.
Where the plan can change: The tubing count does not show whether the supply has enough pressure and flow for the zone.
Work sequence
- Map rows
- Check flow and pressure
- Install per product guidance
- Flush and test
Further guidance
US EPA WaterSense: Water Budget Tool. Follow local requirements and product instructions for the actual installation.